How to Select Borosilicate Glassware for High-Temp Work
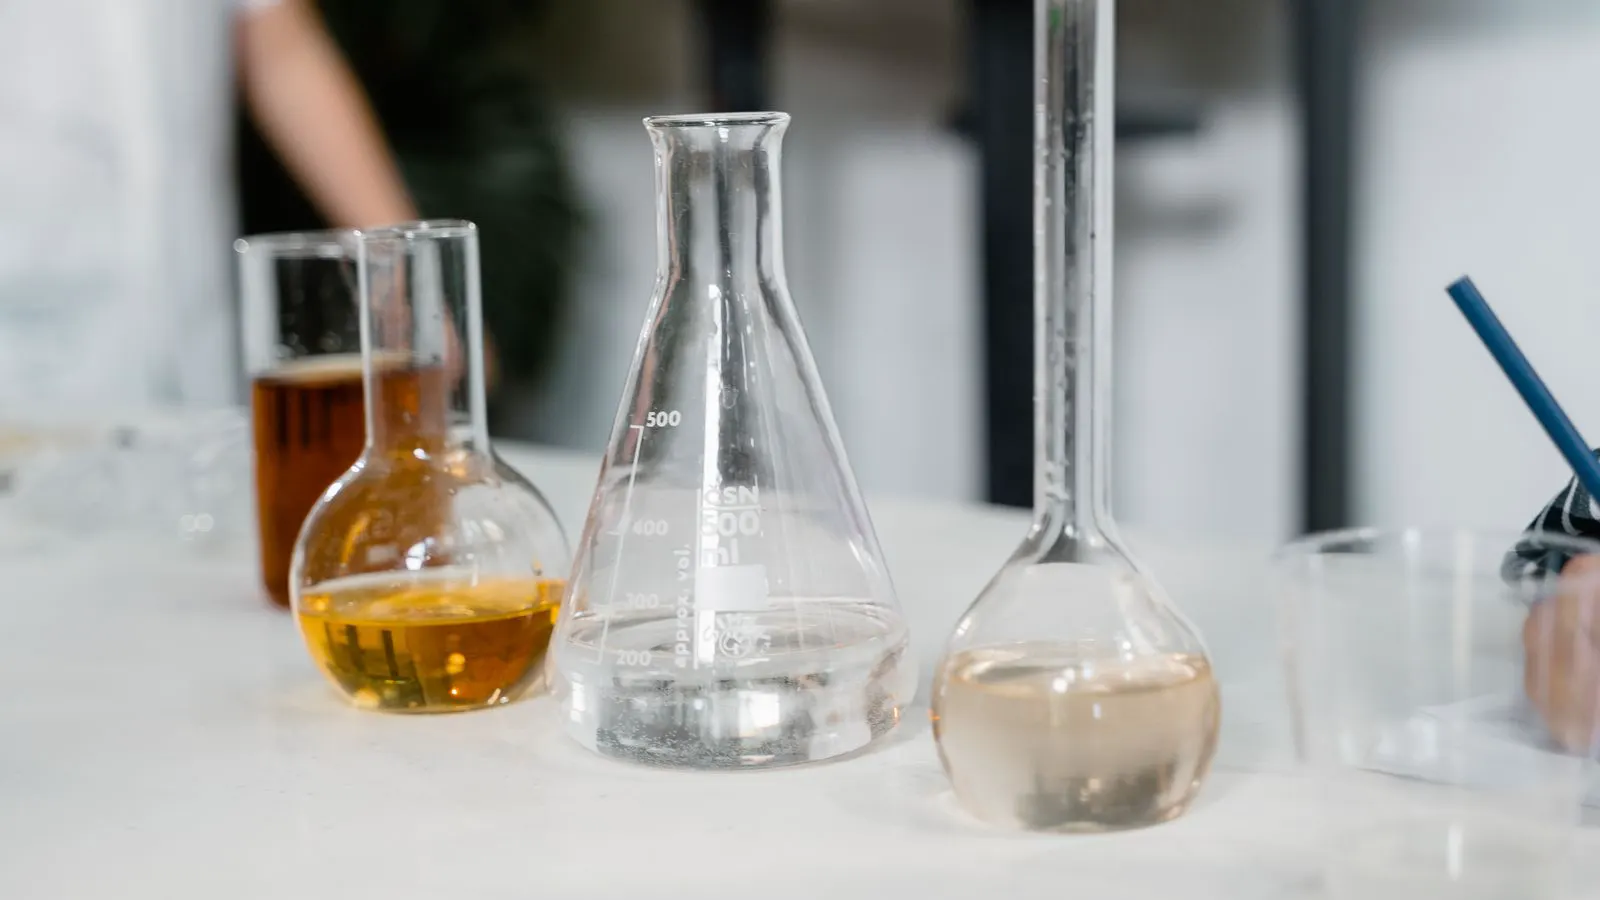
Choose borosilicate lab glassware with a high softening point, uniform wall thickness, and no surface defects. Match the vessel shape to the heating method, and verify the temperature rating against your specific process requirements.
- Check the manufacturer's maximum continuous temperature, not just the flash point.
- Prefer uniform wall thickness to reduce thermal stress during rapid heating.
- Avoid using borosilicate glass for direct flame work unless it is specifically rated for it.
- Inspect every piece for chips or micro-cracks before placing it in high-heat service.
Why Standard Glass Fails in High-Temp Work
Standard soda-lime glass breaks under thermal stress. It expands unevenly when heated and contracts when cooled. This mismatch causes fractures. Borosilicate glass resists this failure. It has a lower coefficient of thermal expansion. The material handles rapid temperature changes much better than standard glass.
This difference matters for beakers, flasks, and condensers used in reflux, distillation, or heating mantle work. The wrong choice leads to cracked vessels, spilled reagents, and unsafe conditions.
Selecting the right lab glassware requires checking more than just the shape. You must verify the material composition, the thermal rating, and the structural integrity. The following steps provide a practical method for making that selection.
Step 1: Define the Maximum Operating Temperature
Determine the highest temperature your process requires. Add a safety margin to this number. If your reaction runs at 200 degrees Celsius, do not select glassware rated for only 200 degrees. Choose a vessel rated for at least 250 or 300 degrees Celsius.
This buffer protects against hot spots. Heating mantles often create localized temperatures higher than the bulk solution. Direct flame contact can reach temperatures far above the set point. The glass must withstand these peaks.
Step 2: Verify the Borosilicate Composition
Not all borosilicate glass is identical. There are different grades with varying thermal properties. Look for glass with a high softening point and a low coefficient of thermal expansion.
The specific chemical composition matters for extreme heat. Some grades are optimized for high-temperature vacuum work. Others are designed for general laboratory use. Check the technical data sheet provided by the supplier. Look for the maximum continuous temperature and the flash point. Do not rely on the word “borosilicate” alone to confirm suitability for your specific heat range.
Step 3: Match the Vessel Shape to the Heating Method
Shape affects heat distribution. A wide-bottom beaker heats evenly on a magnetic stir plate or a heating mantle. A tall, narrow-necked flask concentrates heat in the liquid column.
If you use a heating mantle, select beakers or flasks with flat bottoms. The contact area must be solid. If the bottom is warped, the mantle will not heat the glass uniformly. Warped bottoms cause uneven stress and can lead to failure.
For direct flame work, standard borosilicate is often insufficient. You need glass specifically treated or rated for open flame. Many standard lab glassware items are not designed for this. Check the manufacturer’s guidelines for flame resistance.
Step 4: Inspect Wall Thickness and Uniformity
Uniform wall thickness is a critical factor. Glass with varying thickness creates stress points. Thicker areas expand and contract at different rates than thinner areas. This differential movement causes cracks.
Inspect the vessel before purchase or use. Hold it up to a light source. Look for color variations or bubbles that might indicate uneven cooling during manufacturing. Thicker-walled beakers are better for high-temperature work. They provide structural rigidity and better heat resistance.
Thin-walled vessels are more fragile. They are suitable for low-heat chemical reactions but not for sustained high-temperature processes. If you are running a long reflux at elevated temperatures, choose heavier, thicker glassware.
Step 5: Check for Surface Defects
Micro-cracks are invisible to the naked eye but fatal for high-heat use. Scratches, chips, or nicks on the surface act as stress concentrators. When the glass heats up, these flaws expand. The vessel shatters.
Run your finger gently over the exterior surface. Look for any roughness or irregularities. Check the rim of beakers and the neck of flasks. These areas are prone to impact damage during handling.
If you find a chip, discard the item. Do not attempt to repair it. Do not use it for high-temperature work. A small flaw today can become a catastrophic failure tomorrow.
Step 6: Confirm the Compatibility with Your Heating Source
Different heating sources apply heat differently. An electric heating mantle provides radiant heat. A magnetic stir plate provides conductive heat from the bottom. A water bath provides convective heat.
Each method imposes different thermal loads on the glass. A heating mantle can create steep temperature gradients. A water bath is gentler. If you are using a high-temperature oil bath, the thermal shock is even more severe.
Select lab glassware that matches the heat transfer method. For example, if you use a heating mantle, ensure the glassware has a flat bottom that sits flush against the mantle surface. If you use a water bath, ensure the vessel is tall enough to handle the liquid level without overloading the bottom.
Step 7: Review the Manufacturer’s Thermal Data
The technical data sheet is your primary reference. It lists the maximum continuous temperature, the flash point, and the recommended heating rates. Compare these numbers to your process requirements.
If the data sheet is missing, contact the supplier. Ask for the specific thermal rating. Do not guess. Do not assume that all borosilicate glassware is the same. Some manufacturers produce high-heat versions with specific coatings or compositions.
Keep a record of the thermal ratings for each piece of glassware in your inventory. This documentation helps you match the right vessel to the right job. It also aids in troubleshooting if a piece fails.
Step 8: Perform a Pre-Use Temperature Test
Before using new glassware for a high-temperature process, run a test. Heat the empty vessel to the target temperature. Hold it there for several minutes. Let it cool slowly.
Inspect the vessel after the test. Look for any changes in appearance or structure. If it survives the test, it is likely suitable. If it cracks or distorts, do not use it.
This test also helps you understand the behavior of the specific heating source. It reveals any unexpected hot spots or uneven heating. It is a low-cost way to verify your setup before running expensive or hazardous reactions.
Step 9: Plan for Controlled Cooling
Rapid cooling causes thermal shock. After a high-temperature process, allow the glassware to cool to room temperature gradually. Do not place hot beakers on a cold metal bench. Do not run cold water over a hot flask.
Use a heat-resistant mat or a ceramic tile to support the vessel as it cools. Let the ambient air handle the cooling. This simple step extends the life of your glassware. It prevents the very failure modes discussed in the selection process.
If you need to cool the glassware faster for the next step, use a controlled water bath at room temperature. Never use ice water on hot borosilicate glass. The temperature differential is too high.
Common Mistakes in High-Temp Glassware Selection
One common mistake is buying the cheapest borosilicate available. Low-cost items often have thinner walls and less uniform manufacturing. They may be fine for low-heat work but will fail in high-heat processes.
Another mistake is using standard glass for flame work. Soda-lime glass cracks easily. Even borosilicate can fail if not rated for direct flame. Always check the specific application rating.
A third mistake is ignoring the heating source. A beaker that works on a stir plate may not work on a heating mantle. The heat distribution is different. The stress profile is different. Match the vessel to the method.
Final Verification Before High-Temp Work
Before starting your high-temperature process, perform a final check. Confirm the temperature rating. Check the wall thickness. Inspect the surface for defects. Verify the heating source compatibility.
Ensure the vessel is clean and dry. Residual water or solvent can cause steam expansion or chemical reaction with the hot glass. This can create localized stress or contamination.
If any check fails, stop. Replace the glassware. Do not take risks. The cost of a broken beaker is small. The cost of a chemical spill or a safety incident is not.
Comparison of Glassware for High-Temp Work
| Glassware Type | Best For | Limitations |
|---|---|---|
| Borosilicate Beaker | Heating mantles, magnetic stir plates | Not for direct flame, limited by vessel height |
| Thick-Walled Flask | Reflux, distillation at high heat | Expensive, fragile during handling |
| Pyrex-Grade Glass | General lab work | Lower max temp than specialized borosilicate |
| Soda-Lime Glass | Low-heat storage, cold reactions | Cracks under thermal stress, not for heat |
| High-Temp Rated Beaker | Open flame, high-heat mantles | Limited availability, requires specific rating |
Conclusion
Selecting lab glassware for high-temperature work is a process of elimination. You must match the material, the shape, and the quality to your specific thermal requirements. Borosilicate glass is the standard for a reason. It handles heat better than standard glass. But it is not a universal solution.
Check the data sheets. Inspect the physical item. Test the vessel before use. Follow these steps and you will select reliable equipment for your high-heat processes. You will reduce the risk of failure and extend the life of your inventory.
Frequently asked questions
Can I use any borosilicate glassware for a heating mantle?
Not necessarily. You need a vessel with a flat bottom and a rating that exceeds your mantle temperature. Check the data sheet for the maximum continuous temperature.
What is the difference between a flash point and a maximum continuous temperature?
The maximum continuous temperature is the highest temp the glass can withstand long-term. The flash point is the temp where it can survive a brief spike before cracking.
Do I need special glass for a water bath?
Standard borosilicate is usually fine for water baths. The heat is gentler. However, ensure the vessel is tall enough to handle the bath level without stress on the bottom.
Can I repair a chipped beaker before using it for high-heat work?
No. A chip is a stress point. It will fail when heated. Discard the item and replace it with a new, intact piece of glassware.
How do I know if a beaker is warped?
Place it on a flat, transparent surface like a glass plate. Look for gaps between the bottom and the plate. If there is a gap, the beaker is warped and may not heat evenly.